A. Brief Overview of DIY Fashion Nails
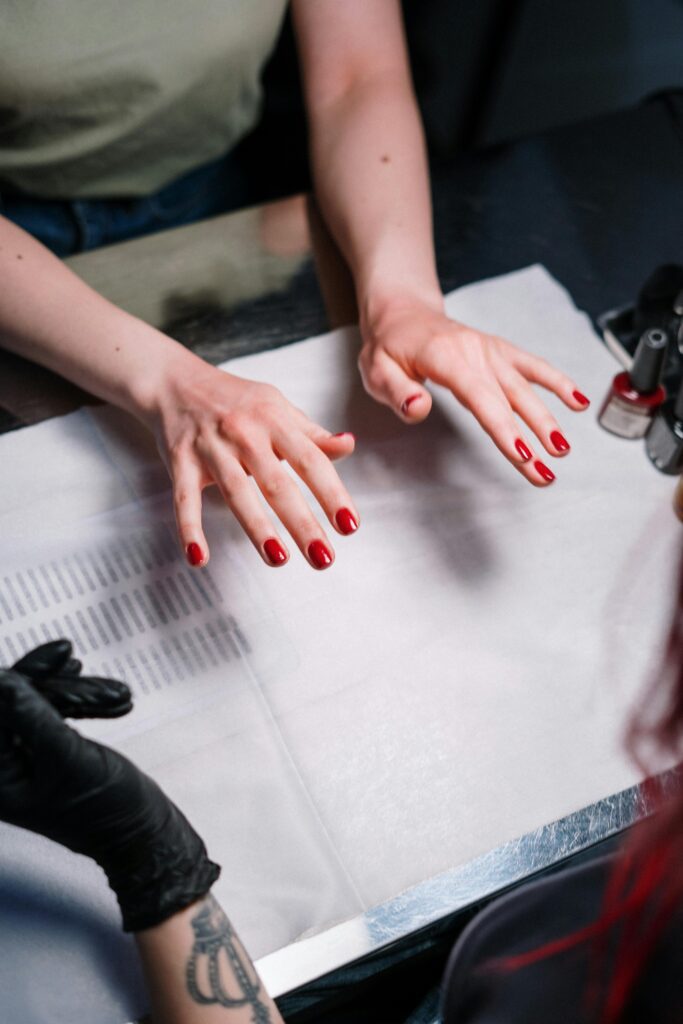
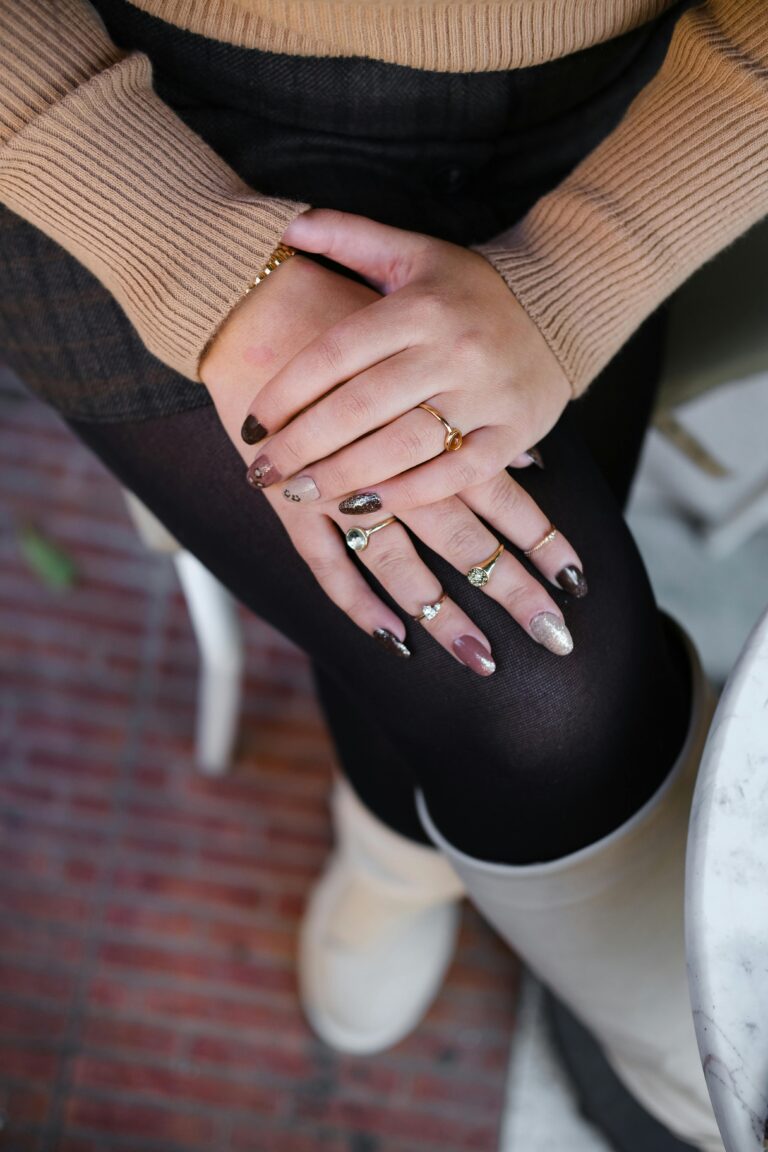
DIY fashion nails have become a popular trend, allowing individuals to express their creativity and personal style from the comfort of their own homes. By mastering a few techniques and investing in some basic tools, anyone can achieve salon-quality results without the expense or inconvenience of a professional manicure.
B. Benefits of Doing Your Nails
Doing your nails has numerous benefits. It saves money and time, provides a sense of accomplishment, and allows for unlimited customization. Whether you prefer classic looks or bold, intricate designs, DIY nail art lets you tailor your manicure to any occasion.
C. Overview of the Guide
This guide will walk you through the entire process of creating beautiful DIY fashion nails. From preparation and basic techniques to advanced designs and maintenance tips, you’ll find everything you need to achieve stunning results.
II. Preparation
A. Gather Necessary Tools and Materials
Before you begin, make sure you have all the necessary tools and materials:
- Nail polish (various colours)
- Nail art brushes
- Base coat and top coat
- Nail file and buffer
- Dotting tools
- Nail stickers or decals
- Acetone or nail polish remover
- Cotton pads or Q-tips
B. Nail Health and Maintenance Tips
- Proper Nail Care Routine Maintaining healthy nails is crucial for achieving the best results. Regularly trim and file your nails, push back cuticles, and avoid biting your nails.
- Importance of Hydration and Cuticle Care Keep your nails and cuticles hydrated with moisturizing lotions or oils. Healthy cuticles enhance the overall appearance of your manicure and prevent painful hangnails.
C. Setting Up a Comfortable Workspace
Choose a well-lit, comfortable area to work in. Make sure you have a flat surface to rest your hands on and easy access to all your tools and materials. Protect your workspace with a disposable mat or towel.
III. Step-by-Step Guide
A. Preparing Your Nails
- Remove Old Nail Polish Use acetone or nail polish remover with cotton pads to remove any old polish.
- Shape and File Nails Shape your nails with a file, choosing a style that complements your fingers.
- Buff the Nail Surface Gently buff the surface of your nails to remove any ridges and create a smooth canvas.
- Push Back and Trim Cuticles Carefully push back your cuticles with a cuticle pusher and trim any excess skin.
B. Applying the Base Coat
- Importance of a Base Coat A base coat protects your natural nails and helps the polish adhere better, preventing chipping and staining.
- How to Apply It Evenly Apply a thin layer of base coat, covering the entire nail surface. Allow it to dry completely before proceeding.
C. Creating Your Nail Design
- Basic Techniques a. Solid Color Application Apply two thin layers of your chosen colour, allowing each to dry completely.
b. French Manicure Use a sheer pink or nude polish for the base and white polish for the tips.
c. Glitter Tips Apply glitter polish to the tips for a sparkly effect. - Intermediate Techniques a. Polka Dots Use a dotting tool to create dots of varying sizes on your nails.
b. Stripes Use nail art brushes or tape to create clean, straight lines.
c. Gradient/Ombre Effect Use a sponge to apply a gradient effect with two or more colors. - Advanced Techniques a. Freehand Nail Art Use fine brushes to paint intricate designs.
b. Stamping Use stamping plates and a stamper to transfer designs onto your nails.
c. Water Marble Create a marbled effect by dropping polish into the water and swirling it with a toothpick before dipping your nails.
D. Applying the Top Coat
- Importance of a Top Coat A top coat seals your design, adds shine, and extends the life of your manicure.
- Tips for a Long-Lasting Finish Apply the top coat to the entire nail, including the edges, to prevent chipping.
E. Cleanup and Final Touches
- Removing Excess Polish Around the Nails Use a brush dipped in acetone or a Q-tip to clean up any polish on your skin.
- Moisturizing Cuticles and Hands Finish by moisturizing your cuticles and hands to keep them looking healthy.
IV. Tips and Tricks
A. Quick Drying Methods


Use quick-dry top coats, or dip your nails in cold water for a few minutes to speed up drying time.
B. Fixing Common Mistakes
For smudges, smooth minor ones with a damp fingertip or a clean brush. For larger smudges, wait for the polish to dry, then buff and reapply.
C. Maintaining Your Manicure
Avoid prolonged water exposure and wear gloves when doing chores. Apply a fresh top coat every few days to maintain the shine and prevent chipping.
V. Frequently Asked Questions (FAQs)
A. How can I make my DIY manicure last longer?
To ensure your manicure lasts longer, start with clean, dry nails, use a good base coat, apply thin layers of polish, seal the tips of your nails, and finish with a top coat. Avoid exposing your nails to water for long periods and wear gloves when doing chores.
B. What should I do if I accidentally smudge my nail polish?
If you smudge your nail polish, gently smooth out minor smudges with a damp fingertip or a clean brush dipped in nail polish remover. For larger smudges, wait for the polish to dry, then buff the area and reapply the polish. If the smudge occurs while the polish is wet, remove it from the affected nail and start over.
VI. Conclusion
A. Encouragement to Experiment with Designs
Don’t be afraid to experiment with different colors and designs. Nail art is a fun way to express your creativity and personal style.
B. Invitation to Share DIY Nail Art Creations
Share your DIY nail art creations on social media or with friends. It’s a great way to inspire others and gain new ideas.
C. Final Thoughts on the Benefits of DIY Fashion Nails
DIY fashion nails offer numerous benefits, from saving money to providing a creative outlet. With practice and patience, anyone can achieve beautiful results at home.


